Friday, April 12, 2013

Slider Burger Cupcakes

What do you do at 8:30 the night before you promised a dearly beloved student that you would bring homemade, memorable cupcakes to school the next day to celebrate their birthday? Why, you take inspiration from the brilliant Bakerella and put together Slider Burger Cupcakes, of course!


It was late, I was tired, and I had set the cupcake bar far too high in the past, but I didn't want to disappoint, so after a quick look at my Pinterest Cupcake board, I thought I would attempt these cute lil' guys. I mean, who doesn't like cute little burgers, especially when they taste like sugary goodness?

Sadly, I don't have step-by-step photo instructions (again, it was late) and there isn't too much of a recipe...

Ingredients
-1 box yellow cake mix (any brand will do, I usually go with Betty Crocker's Super Moist or Pillsbury's Moist Supreme, really whatever is on sale)
-Oil, water and eggs (as called for on the cake box)
-Cupcake liners (important!)
-1 box brownie mix (any brand that doesn't come with frosting, chocolate chips or nuts. Just plain, ole' brownie mix)
-Oil, water and eggs (as called for on the cake box)
-White frosting (if you're in a hurry, like I was, you can use pre-made frosting, or you can whip up a batch of your favorite buttercream)
-Green, yellow and red food coloring (I only use gel color, it doesn't change the consistency of your frosting like traditional liquid color can. Because of my massive collection of cake decorating supplies, I generally use Wilton colors. For this project, I used the following: kelly green, golden yellow and no-taste red)
-Dash of cocoa powder
-Sesame seeds

Directions
Prepare cake batter, as directed. Spoon into paper-lined (super important! If you don't use the traditional cupcake liners, you won't get that great "bun" finish) muffin tins and bake as directed. I let the cupcakes go just a bit long; not enough to dry out, but just enough to get that great bun color. Remove from oven and transfer to wire racks. Let cool almost completely.

In the meantime, prepare the brownie batter as directed and pour into a greased 9 x 13" (ideally, for burger to bun ratio) pan. Bake as directed and let cool almost completely.

While your burgers and buns are cooling, divide the frosting into three containers. Color the green in one container and the yellow in another container. Cover to keep from crusting over. For the red, it can be difficult to tint the frosting a deep enough red to represent ketchup, so much so that it can affect the flavor. So, thanks to my wonderful baking instructor at Sweetness Cakery, I learned that by adding just a bit of cocoa power to frosting, it deepens the red. Start with just a sprinkle and a bit of the gel color, adding more, as needed, until you get the color you want. Set the colored frostings aside.

Next, remove the cupcakes from the paper liners and using a knife or a cake leveler, cut each cupcake in half, so it represents the top and bottom of a hamburger bun.

To create the burgers, I just happened to have a circle cookie-cutter that was the perfect size for the buns. If you're not quite as lucky, just look around, you'd be surprised what you can find around the house that will work. Cut out enough burgers to fill all your buns and then sit back to enjoy the trimmings.

Once you've finished snacking, time to start the assembly. I put my colored frostings into cake decorating bags, but ziploc bags with the tip cut off will work, as well. I put a dab of yellow in the center of the bottom bun to hold the burger in place. Plop the burger down and get ready for condiments! I made squiggly lines of ketchup and mustard around the outside edge of my burger, then topped it with lettuce. Add your top bun and get your sesame seeds handy. I used a medium-sized (food-friendly) paint brush to brush the bun with just enough water to make it slightly moist and then sprinkled on the sesame seeds. Voilà!

Check out Bakerella's page to add a festive tray and deliciously sweet french fries. It was after my bedtime by this point, so I simply found a barbecue-looking tray and called it a night.

The next day, all the hard work paid off! The kids absolutely loved them and they thought it was a hoot when they could trick someone into believing they were actually beef burgers!


Monday, April 1, 2013

Luke's Chocolate Peanut Butter Cake


Per my co-worker's request for a birthday cake that incorporated chocolate and peanut butter, I made quick work of searching for a delicious (and easy) treat. I was then that I discovered Smitten Kitchen and their decedent-looking Chocolate Peanut Butter Cake. I quickly added it to my cake board, but was certain that regardless of effort, I would never be able to recreate such a master piece...

Cake Ingredients
2 cups all-purpose flour
2-½ cups sugar
3/4 cup unsweetened cocoa powder
2 teaspoons baking soda
1 teaspoon salt
1 cup vegetable oil
1 cup sour cream
1-½ cups water
2 tablespoons white vinegar
1 teaspoon vanilla extract
2 eggs (leave them out until they no longer feel cold in your hand)

Cake Directions
1. Preheat the oven to 350 degrees. Butter the bottoms and sides of two 8-inch round cake pans (the Smitten Kitchen recipe uses three pans, I found that I only needed two). Line the bottom of each pan with a round of parchment paper and butter the paper (I skipped this part. Don't. Not a good idea. I left large chunks of my cake in the pan, fortunately it was fixed with a dab of frosting, but next time I will definitely be using the parchment paper).

2. Sift the flour, sugar, cocoa powder, baking soda, and salt into a large bowl (I figured, "Sift, who sifts things anymore? Well, apparently I do. I tried to combine the dry ingredients without sifting and the cocoa refused to un-lump itself. Hence, pouring the whole mixture into the sifter and ending up with fluffy, combined ingredients). Whisk to combine them well. Add the oil and sour cream and whisk to blend (it will look a bit chunky). Gradually beat in the water. Blend in the vinegar and vanilla. Whisk in the eggs and beat until well blended. Scrape down the sides of the bowl and be sure the batter is well mixed. Divide among the 2 (or 3) prepared cake pans.

3. Bake for 30 to 35 minutes, or until a cake tester or wooden toothpick inserted in the center comes out almost clean. Let cool in the pans for about 20 minutes. Invert onto wire racks, carefully peel off the paper liners, and let cool completely. (The following is a note from the Smitten Kitchen recipe and it is a very important one: "These cakes are very, very soft. I found them a lot easier to work with after firming them up in the freezer for 30 minutes. They’ll defrost quickly once assembled. You’ll be glad you did this, trust me." And me, too!)

Before proceeding to the final steps, you'll need to prepare your frosting and ganache. Scroll down for recipes and directions.

4. Before you start to frost, put a dolup of frosting in the middle of the cake stand or serving plate to "glue" the cake in place. Also, if you want to torte your cake (cut the domed top off the cake to make it flat and even), now is the time to do it. To frost the cake, place one layer, flat side up, on a cake stand or large serving plate. Spread 2/3 cup cup of the Peanut Butter-Cream Cheese Frosting evenly over the top. Place the second cake on top and frost the top and sides of the cake with the remaining frosting. (The following is a note from the Smitten Kitchen recipe: Making a crumb coat of frosting–a thin layer that binds the dark crumbs to the cake so they don’t show up in the final outer frosting layer–is a great idea for this cake, or any with a dark cake and lighter-colored frosting. Once you “mask” your cake, let it chill for 15 to 30 minutes until firm, then use the remainder of the frosting to create a smooth final coating).

5. To add the Chocolate–Peanut Butter Ganache, put the cake plate on a large baking sheet to catch any drips. Simply pour the glaze over the top of the cake, and using a spatula, spread it evenly over the top just to the edges so that it runs down the sides of the cake in long drips. Refrigerate, uncovered, for at least 30 minutes to allow the glaze and frosting to set completely. Remove about 1 hour before serving (this cake will do well in the refrigerator overnight and the ganache won't hard. I was worried about this, as I didn't want a "crunchy" layer of chocolate on the cake. Not so, the ganache was creamy and delicious).

Peanut Butter-Cream Cheese Frosting
10 oz. cream cheese (room temperature)
1 stick (4 oz.) butter (room temperature)
5 cups powdered sugar
2/3 cup smooth peanut butter

1. With an electric mixer, beat the cream cheese and butter until light and fluffy. Slowly add the powdered sugar one cup at a time, mixing thoroughly after each addition and scraping down the sides of the bowl. Continue to beat on medium speed until light and fluffy, 3 to 4 minutes.

2. Add the peanut butter and beat until thoroughly blended (I beat it on medium for a few extra minutes and it was so light and fluffy).

Chocolate-Peanut Butter Ganache

8 oz. semi-sweet chocolate, coarsely chopped
3 tablespoons smooth peanut butter
2 tablespoons light corn syrup
1/2 cup half-and-half

1. In the top of a double boiler or in a bowl set over simmering water, combine the chocolate, peanut butter, and corn syrup. Cook, whisking often, until the chocolate is melted and the mixture is smooth.

2. Remove from the heat and whisk in the half-and-half, beating until smooth. Use while still warm.


 Adding the ganache, it was thick enough to be easily controlled.

This is after the cake had rested in the refrigerator overnight and spent a few hours warming on the counter. Even after all that time, it was wonderful!

 Very rich, cut small pieces and serve with a big glass of milk!

Needless to say, the cake was a BIG success and it turned out so much better than I expected! I think it looks just like the pictures on Smitten Kitchen, if I do say so for myself...

Pull-Apart Cheese Herb Bread

Simple homemade white bread with a cheesy, fresh herb filling. 
Fun and delicious!

This recipe had been tempting my Pinteresting taste buds for months! I would always scroll past it and think how delicious (and assuming-ly difficult) it looked. You can imagine my surprise when I finally followed the link and discovered just how simple it really was. Roxanangreengirl posted this recipe through Tasty Kitchen and while the directions were perfect, I did make a few changes which are noted below.

Ingredients
1 envelope (1/4 oz. Packet) dry yeast
1-½ cups lukewarm milk
4 cups all-purpose flour
1 pinch salt
5 oz. cheddar cheese (I used pre-shredded)
1 bunch fresh dill or parsley
1 egg (for egg wash)

Directions
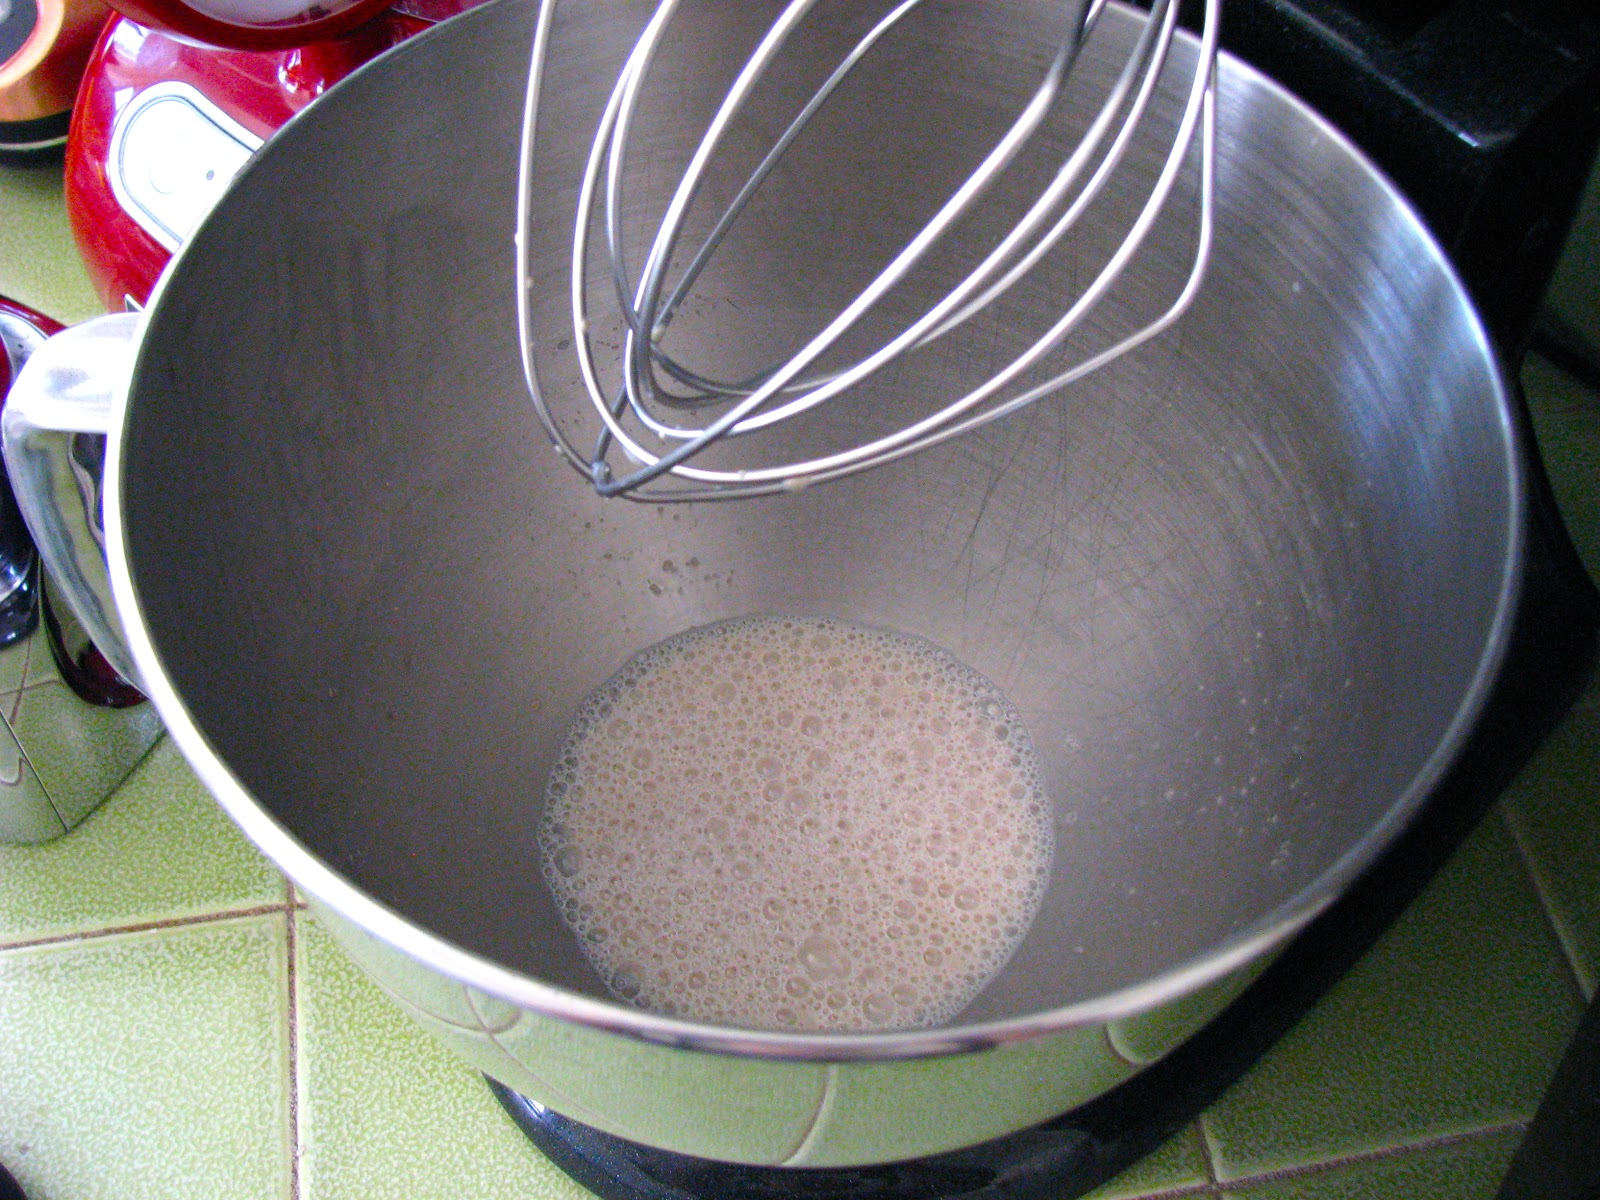
Using your stand mixer or a whisk, cream the yeast with a little lukewarm milk. When the yeast has dissolved pour the rest of the milk.

Slowly add the flour and salt, mixing until the dough comes clean from the sides of the bowl (if using a stand mixer, be sure to use your dough hook for this portion, if you're doing it by hand, you can skip the gym because you'll need to do some kneading).

Place the dough into a greased bowl and cover with damp towel and leave to rest at room temperature until it doubles in volume. (I like to turn my oven to the lowest temperature, fully open the door, and set the dough on the oven door. Just be sure to rotate your bowl regularly so it doesn't develop a hard crust from the heat). When risen, divide it into 10-12 balls and flatten them.

While your dough is rising, it's time to make the filling. I only used dill for this bread and simply washed it, dried it and separated the steams and dropped them into my food processor with the cheddar cheese. I processed them until they were quite fine and well combined. Next time, I might not process it quite as long so the filling has a bit more density to it. Once your dough balls are ready, place about 1 tablespoon of the cheese-herb mixture in the center of the dough. Seal the pocket with a fork or with your fingers and place it in a greased loaf pan (if you look at Roxanangreengirl's dough balls and mine, they're very different. Her's are pretty and dumpling-like, while mine are a bit more hefty).

Place the filled dough balls in a greased bread pan (I need one regular sized bread pan and one mini-loaf pan). Leave again to rest either on the oven door or at room temperature. When risen, brush with egg wash and bake in preheated oven at 375ºF for about 35-40 minutes (the mini-loaf pan only took about 30 minutes).

As soon as the bread comes from the oven, brush it with butter and then leave it to cool slightly. After approximately 15 minutes, it was cool enough to handle and easily came out of the pan.

1 envelope (1/4 oz. packet) dry yeast
1-½ cups lukewarm milk
4 cups all-purpose flour
1 pinch salt
5 oz. cheddar cheese (I used pre-shredded)
1 bunch fresh dill or parsley
1 egg (for egg wash)

Using your stand mixer or a whisk, cream the yeast with a little lukewarm milk. When the yeast has dissolved pour the rest of the milk.


Slowly add the flour and salt, mixing until the dough comes clean from the sides of the bowl (if using a stand mixer, be sure to use your dough hook for this portion, if you're doing it by hand, you can skip the gym because you'll need to do some kneading).


 Place the dough into a greased bowl and cover with damp towel and leave to rest at room temperature until it doubles in volume. (I like to turn my oven to the lowest temperature, fully open the door, and set the dough on the oven door. Just be sure to rotate your bowl regularly so it doesn't develop a hard crust from the heat).

While your dough is rising, it's time to make the filling. I only used dill for this bread and simply washed it, dried it and separated the steams and dropped them into my food processor with the cheddar cheese. I processed them until they were quite fine and well combined. Next time, I might not process it quite as long so the filling has a bit more density to it. 


When risen, divide it into 10-12 balls and flatten them.

Once your dough balls are ready, place about 1 tablespoon of the cheese-herb mixture in the center of the dough. 

 Seal the pocket with a fork or with your fingers and place it in a greased loaf pan (if you look at Roxanangreengirl's dough balls and mine, they're very different. Hers are pretty and dumpling-like, while mine are a bit more hefty).

Place the filled dough balls in a greased bread pan (I need one regular sized bread pan and one mini-loaf pan).

 Leave again to rest either on the oven door or at room temperature. When risen, brush with egg wash and bake in preheated oven at 375ºF for about 35-40 minutes (the mini-loaf pan only took about 30 minutes).


As soon as the bread comes from the oven, brush it with butter and then leave it to cool slightly. After approximately 15 minutes, it was cool enough to handle and easily came out of the pan.